


How to Create Power Point Presentation Quick Guide

Presentation is one of the key factor for a successful Project. From the beginning to end of any project there is a need of Presentation. To present the idea regarding project, analysis of project, discussion regarding project and final result of project after completion, there we must go through these stages with presentation.
There are different kinds of approaches to develop the presentation but we will understand and try to develop our presentation through the Microsoft PowerPoint which is rich in features and easy to learn.
At First :
You need to download and install Microsoft Office for Power Point. After Installation you can access or open Microsoft Power Point from start menu. We are using Office 2019 for this tutorial. (file)
Steps 1:
- Click on Start Window icon at the bottom left corner of the taskbar. OR, you can simply press Windows Key in the keyboard.
- Type PowerPoint and click on PowerPoint application icon.

Fig: Accessing PowerPoint from start menu
Step 2:
- Choose Blank Presentation
- We can see the single presentation slide thumbnail at the left side.
- Click on the box saying Click to add title and Type the Title for your presentation
- click on the second box saying Click to add subtitle and type the name who develop this presentation.
- Like in the given images/snapshots

Fig: 1st slide

Fig: adding title and subtitle
Step 3:
- Now add new 2nd slide in our presentation for more content
- Right click on blank space in the left slide thumbnail panel
- Click on New Slide
- Now we have new slide with different content box
- Here in the small box for title or topic (example: Introduction, Features, Objective)
- In second box we can add text as our need. (example: Introduction Paragraph, list of features)
- Like in the given snapshot.

Fig: Adding New Slide

Fig: New Slide with Different content field than 1st one
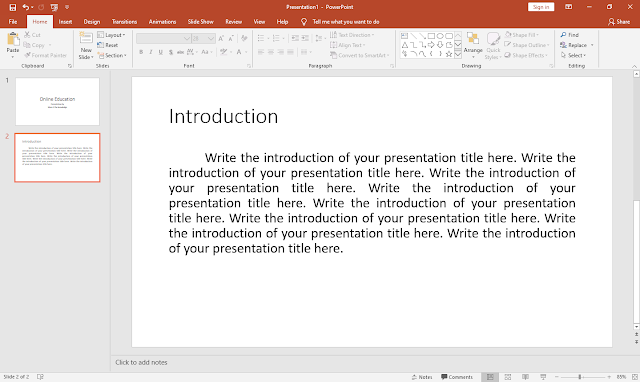
Fig: 2nd Slide with Content
Step 4:
- To add Image click on the picture icon in the box
- Now we have to select the image from the folder location
- Select the image and click in insert button
- You can resize the picture as your requirement
- You can get hint from the Snapshot

Fig: Adding Image

Fig: Find the folder location

Fig: Select the Image and Insert

Fig: Image in the Slide
Step 5:
- Follow the Previous steps and add more slides.
- You can get hint from the given snapshots.

Fig: Adding more slides

Fig: adding Thank you, an ending slide
Step 6:
- Now we can add design to our presentation slides
- Click on Design tab at the top
- Select the design template which you like
- Now you can find the design applied to all slides.
- Like given in the Example slide snapshot

Fig: Click on Design Tab at the top

Fig: Select the required Design template & applied to all slide

Fig: to present your presentation slide click on this icon OR you can press F5 key and to end the presentation press ESC key in your keyboard.

Fig: Save you Presentation file in computer

Fig: Click in Save

Fig: Find the location to save your file and give the name for your presentation & click on save button
You can quickly develop the presentation for you topic by simply following the given steps. If you have any queries then you can write in the comment section.


